Today’s post is about telemetry.
To start using telemetry in Business Central, this is the place to go: https://aka.ms/bctelemetrysamples
Basically what you need is:
- Have an Azure account
- Create a Application Insights application to receive the telemetry data
- Setup your Application Insights connection string in the Business Central Admin Center
Once you have done this, telemetry data will start flowing from the Business Central environment to Application Insights.
Unfortunately you can only setup one Application Insights connection string on each environment.
If you think it would be great to setup multiple Application Insights in the same environment, you can vote here:
In this post I’m going to show how it is possible to give access to an user that belongs to a different Azure Active Directory (AAD). If you, as a customer or as partner, have an Application Insights key configured in your BC environment, you can give access to external users to the telemetry data.
Please note that I will focus on giving permissions to the Application Insights resources but this applies to any other Azure resource.
1. Giving permissions to a third-party to access your own Application Insights app
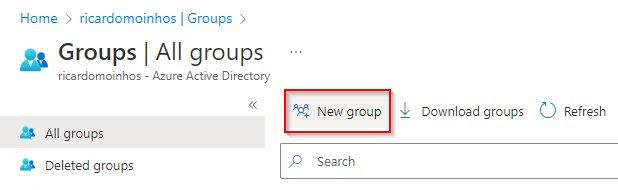
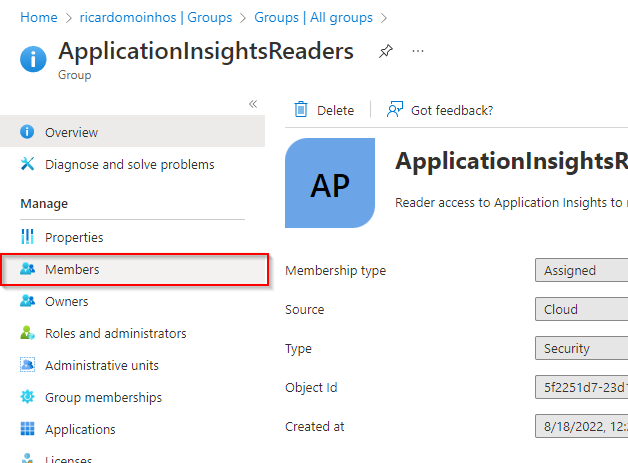
1.1 Creating a group
Although you can give direct permissions to a specific user to access the Application Insights resource, I recommend that you create a specific group, give it the proper permissions and just add the users you need to give access to as members of this group.
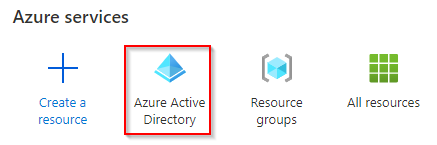
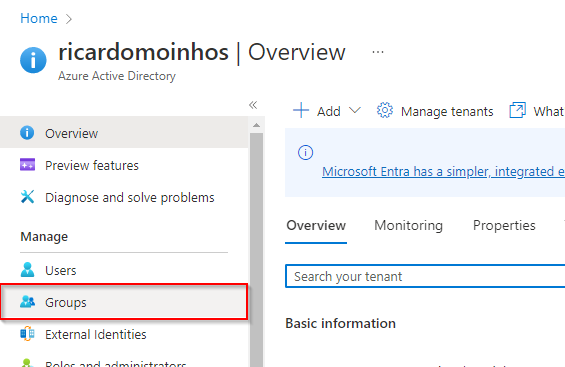
- Access the Azure Active Directory resource
- Access the Groups option on the left panel
- Click on New group
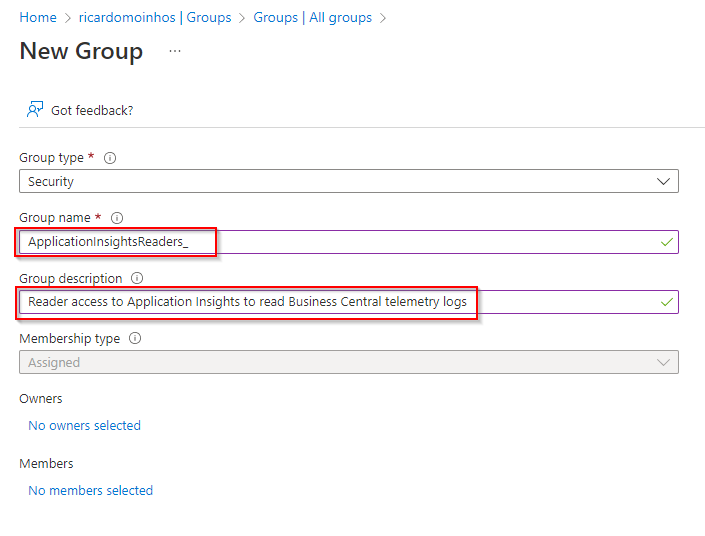
- Give it a name and description
NOTE: Leave the members empty at this point as you don‘t have any external user to be added to this group. - Press the Create button
Screenshots

![]()
1.2 Assigning the proper permissions to the new group
To assign the proper permissions to the group follow these steps:
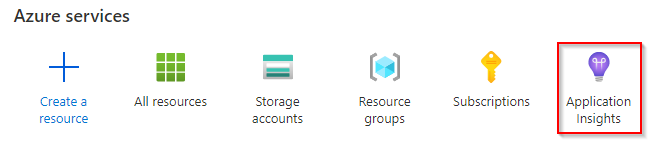
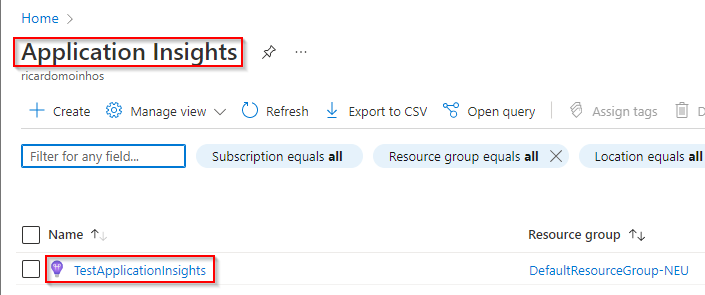
- Access the Application Insights resource
- Select the Application Insights resource you want to give access to
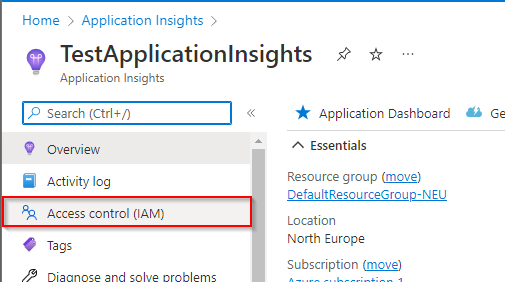
- Click on Access control (IAM) in the left side panel
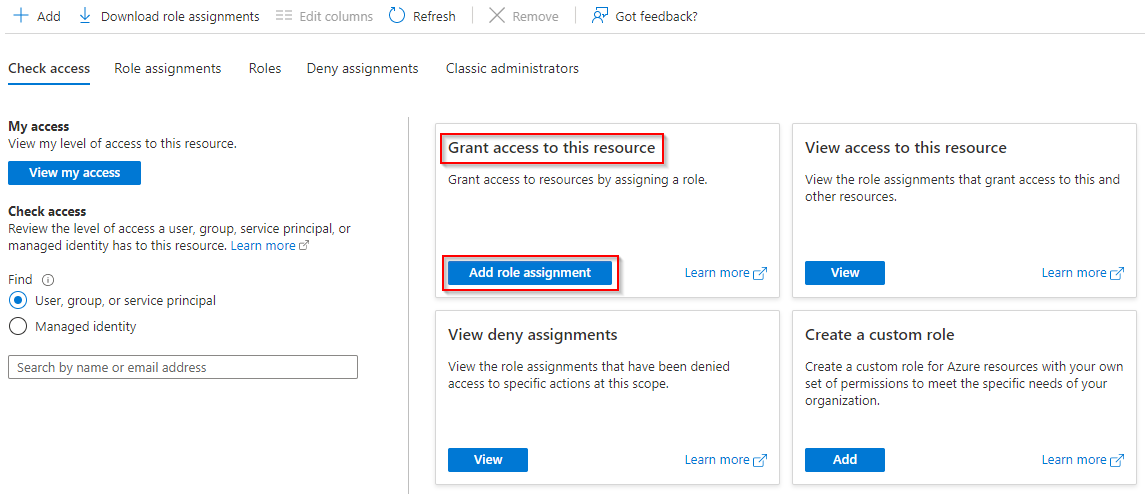
- Click on Add role assignment, under Grant access to this resource
- Select the Monitoring Reader role
NOTE: Click on View to see the full list of permissions included in this role. Please note that this is a BuiltInRole but it is possible to create a Custom Role with fewer permissions. - Click on Next
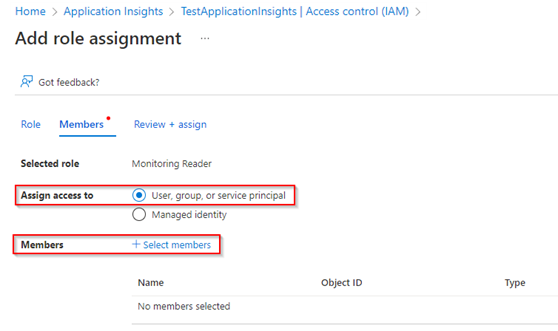
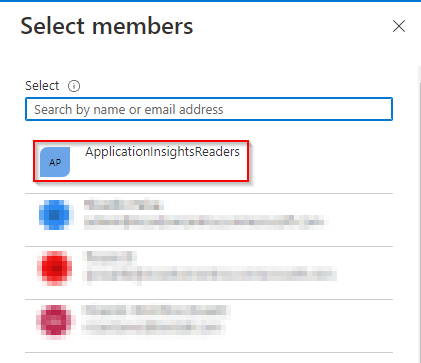
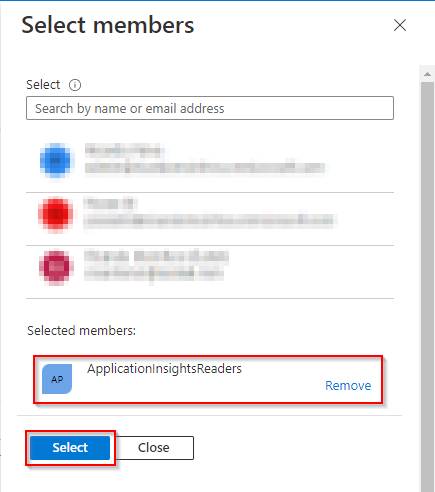
- Assign this role to the group created previously by clicking on Select members
- Select the group created previously and press Select
- Click on Review + assign twice
Screenshots


![]()
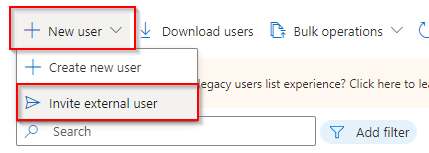
1.3 Inviting and adding an user as an external user
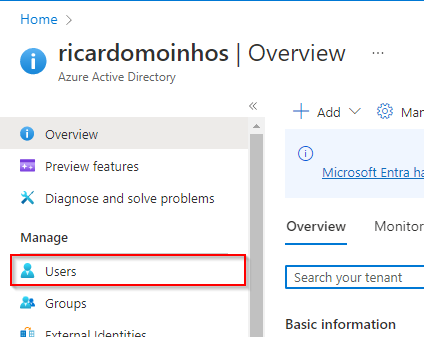
- Access the Azure Active Directory resource
- Access the Users option on the left panel
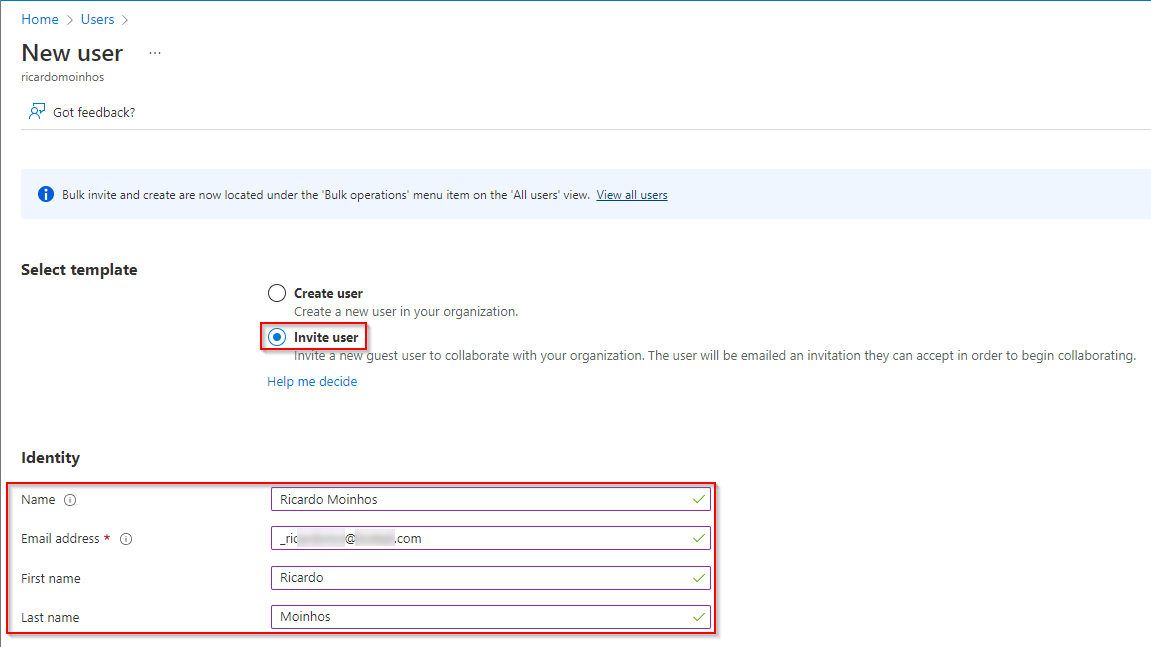
- Click on Create new user and Invite external user
- Select the Invite user option and add Identify information
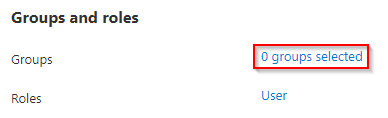
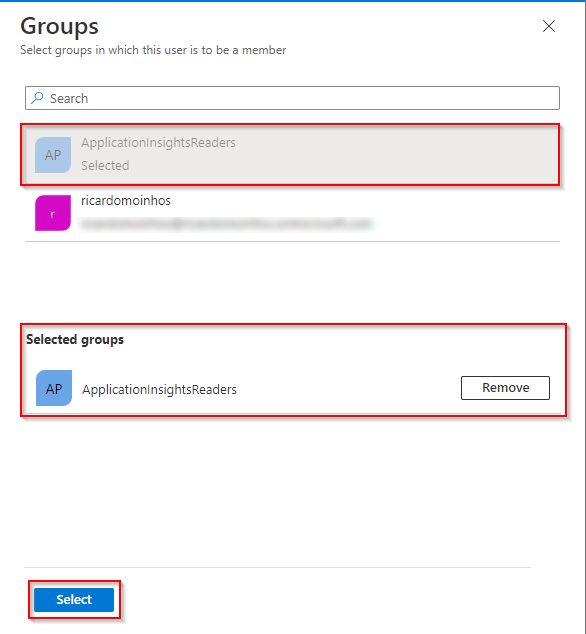
- Click on 0 groups selected
- Assign this user to the previously created group
- Click on Invite
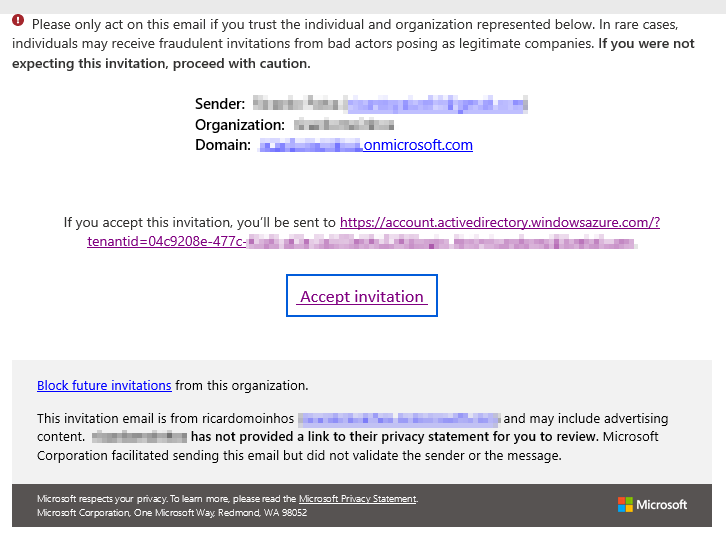
- An email similar to this will be sent:
Screenshots

![]()
1.4 Accessing the Application Insights in the customer’s tenant
The user must accept the invitation by clicking on Accept invitation on the received email.
After accepting the invitation, the user should log out and log in again into the Azure Portal.
After logging in, click on the Profile button and select Switch directory.
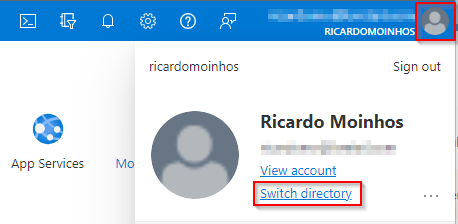
You can switch between directories (tenants) clicking on the Switch button.
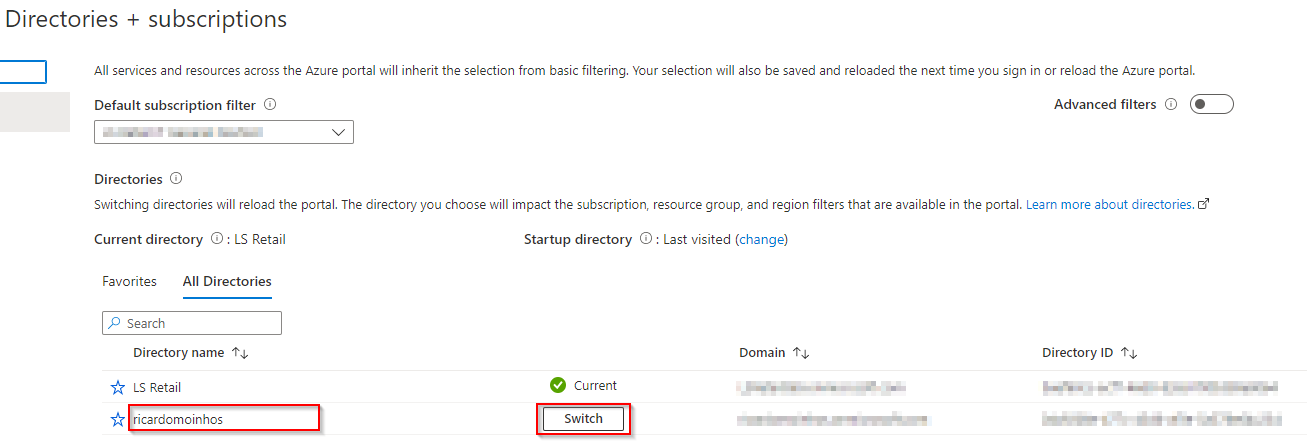
User should be able to access the Application Insights app in the customer’s tenant.
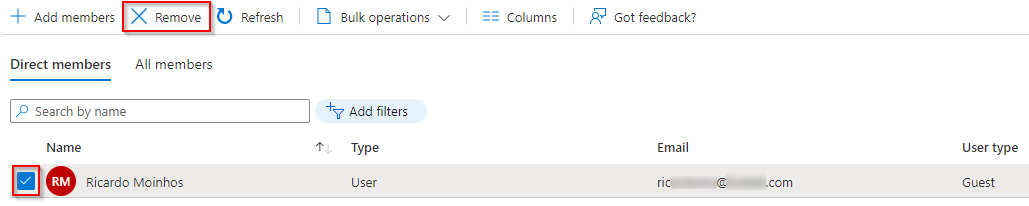
2. Revoking permissions to access Application Insights app
· Access the Azure Active Directory resource
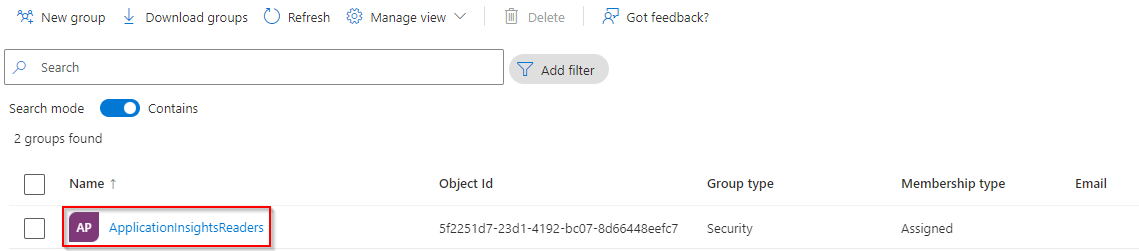
· Access the Groups option on the left panel
· Click on the ApplicationInsightsReaders (or whatever name was set) group
· Click on Members
· Select the user to be removed and click on Remove
If needed, you can remove the user from the Users list, as well.
Please note that the user might only lose access to Application Insighs once he logs out and logs in again to the Azure Portal.
Screenshots

I hope you enjoyed this article and found it useful.
What are you thoughts on this? How are you sharing telemetry data?
Please feel free to comment.
#businesscentral #telemetry #applicationinsights #azure #permissions
Hey Ricardo,
thanks for this post!
I tried this with customer and everything worked so far, I got the invitation and now I can switch to the other directory.
But then Azure tells me “You do not have any Azure subscriptions in the XYZ directory.” and I cannot do anything really.
Can you please tell me what went wrong or what I could have missed?
Thanks in advance!
Hi,
Sorry for taking so long to reply. I have been offline for a couple of days.
I’m not 100% sure but I think I haven’t come across that error message.
Did you try to log out and log in in incognito mode and try again?
The only thing that occurs to me that you could try is to give permissions (as a owner, to start) to the Azure Subscription resource. I don’t think that’s needed because I haven’t done it. But you could try that and, even if it works, just remove the permissions after and give it a try.
If you need to have those permissions on the Azure Subscription, maybe there’s a role other than owner that allows you to have read-only access to the subscription so you don’t get that error anymore.
But like I said, I only set up the permissions for the Application Insights resource.
You can always try to open a support ticket with Microsoft and seek for their help on this one.
Let me hear from you.
Good luck
Hi BJ,
You can fix this by going to the Default Directory, go to Home> subscriptions and select your subscription, then click on the “Change Directory” tab and select the option “From Default Directory” to “New Directory”.
Hi Mohamad Vajid,
Thanks for your input.